Showing posts with label ingredients. Show all posts

Friday, 20 November 2015

Slip testing

This week I've been experimenting with Slip Testing.

To create a standard ceramic slip I blend up some of the same clay body the slip is going to be applied to with lots of added water to a thick creamy consistency; which then gets sieved.

*Another way to create slip is to dry out clay then add water to turn it into a liquid.

 I measure out the slip into litre's (1000ml)then add the percentage of coloured stain / oxide to the slip. This particular clay is a sandy coloured buff stoneware, to get a strong colour I add 10% to the slip. 


You can use less stain to achieve lighter colours, the percentage you use depends on the clay body you're applying it to and the finish you wish to achieve. If your using oxides, they are much stronger than stains so the percentage is likely to be less.


As you can see I have done 2 tiles of each colour, this is because I shall glaze 1 tile of each colour so I have reference to the colour without glaze. When you apply glaze it enhances the slip's colour and it becomes much brighter. The colour difference would be from a pastel shade to a bright strong colour.
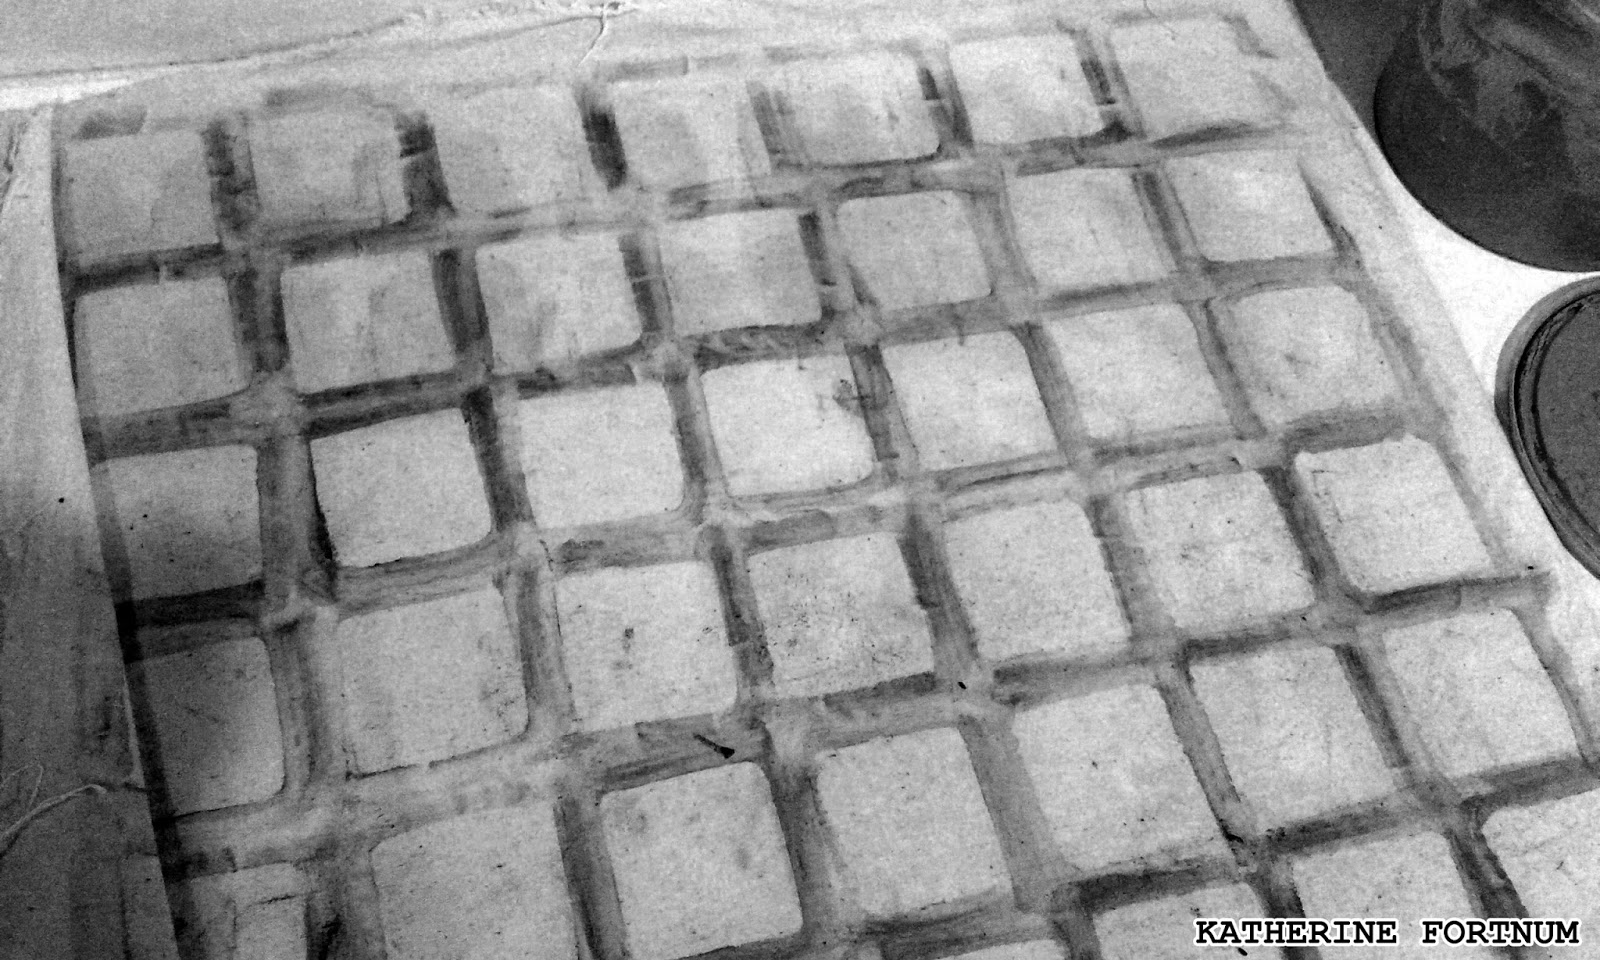

 The remains of the tiles I made are left on the fabric, I love seeing this as it reminds me of the tiling that can be created with the pieces I've cut out.

Which do you prefer to add colour to your slips, oxides or stains?


Thursday, 19 November 2015

Weather proofing has begun!

This winter is predicted to get really cold, my workshop is a loglap cabin, well insulated with heat/cold proof protected plaster board and insulation lining; I pulled out all the stops to keep my workshop warm and weather proof.

I'd done well, until this November temperatures have dropped and the glazes which are in air tight plastic tubs are covered in condensation and tiny ice particles are showing in the liquid!

Weather proofing has begun!


I've brought some plastic storage boxes and to make the contents safe from the weather I'm lining them with insulation roll; it’s actually used for insulating attics, it keeps cool in summer and warm in winter.

I used 'ThermaWrap Loft Insulation' and Clear Packaging tape from Screwfix.

First I did the easiest part as it involved less cutting, The lid was easy only using one large piece, making sure that once stuck the lid still fit securely on the box.


I lined the three largest sides with one long piece; then I taped around every edge with clear packing tape to seal each edge and attach in place.


Next I cut out the two end pieces, overlapping the sides by an inch so there was no box showing; they also got taped into place.


Heat / Cold / Damp proof storage box finished! Just another 5 to go!


How do you protect your materials in the warm summer/cold winter months? I'd love to hear your ideas!

Tuesday, 20 October 2015

Addicted to glazing!

Glazing is my absolutely favourite part of ceramics, the making process is fun but I just find glazing itself so relaxing! I'm not much of an academic person but there's something about doing all the calculations, testing this and that, take a bit away, add a bit of something else.


  I always practice safety in my ceramics workshop, I wouldn't have it any other way! Apron, gloves and mask are an essential part of work wear safety when working with hazardous materials.


As you can see below, I use digital scales, precision in weighing is key, I have the sets of scales;1 for large quantities, 1 which measures to two decimals and another which measures to 3.


My latest testing unintentionally turned out to be smiley faces!


As you can see ...I never get enough of testing! 
So many glazes so little time!!!


Thursday, 11 June 2015

Organising my Ceramics workshop!

I love saving all my favourite images all neatly listed in folders on Pinterst (as everyone does) ...dreaming that one day I WILL BE ORGANISED and have a beautiful ceramics workshop, where I knowwhere everything is!

Well I decided it will happen!
It all started with a sketch, I will regain some storage room!

I already had heavy duty wooden shelves in my workshop but I wanted a way to hide away all the stuff whilst orgsanising and utalising space, so I decided I'd add deep wooden doors to the shelves and store things in them!

Once tested they fit well I had to take the doors off again as it was proving fiddly to get things attached while vertical!
I designated a space for each tool ...well as many as I could fit on at least! 
Soo many tools!

The finished door all hung up, that's one side down, door 2 to go!